When you reach a certain age, you begin to notice that friends of yours are starting to have kids. You might even notice that you’re having kids yourself. With a little luck (and perhaps a bit of nudging), hopefully your kids will get interested in science or engineering at an early age.
It’s extra sweet when your friend’s kids get interested in engineering, and they come to you. Such was the case recently with a very dear friend of mine. It turns out that his three-year-old son is completely obsessed with elevators. Their local mall has glass enclosed elevators, and this eager young learner can watch them go up and down for hours. However, since hanging around the mall for hours on end isn’t really an option right now, my friend asked for advice. He wanted a toy elevator for his boy, but couldn’t find anything commercially available that really fit what he wanted. So he asked if I knew anyone who might be able to come up with a design closer to what he thought his son would like. After listening to his description, and not knowing any makers in his area, I told him that I would be happy to make an elevator for his son.
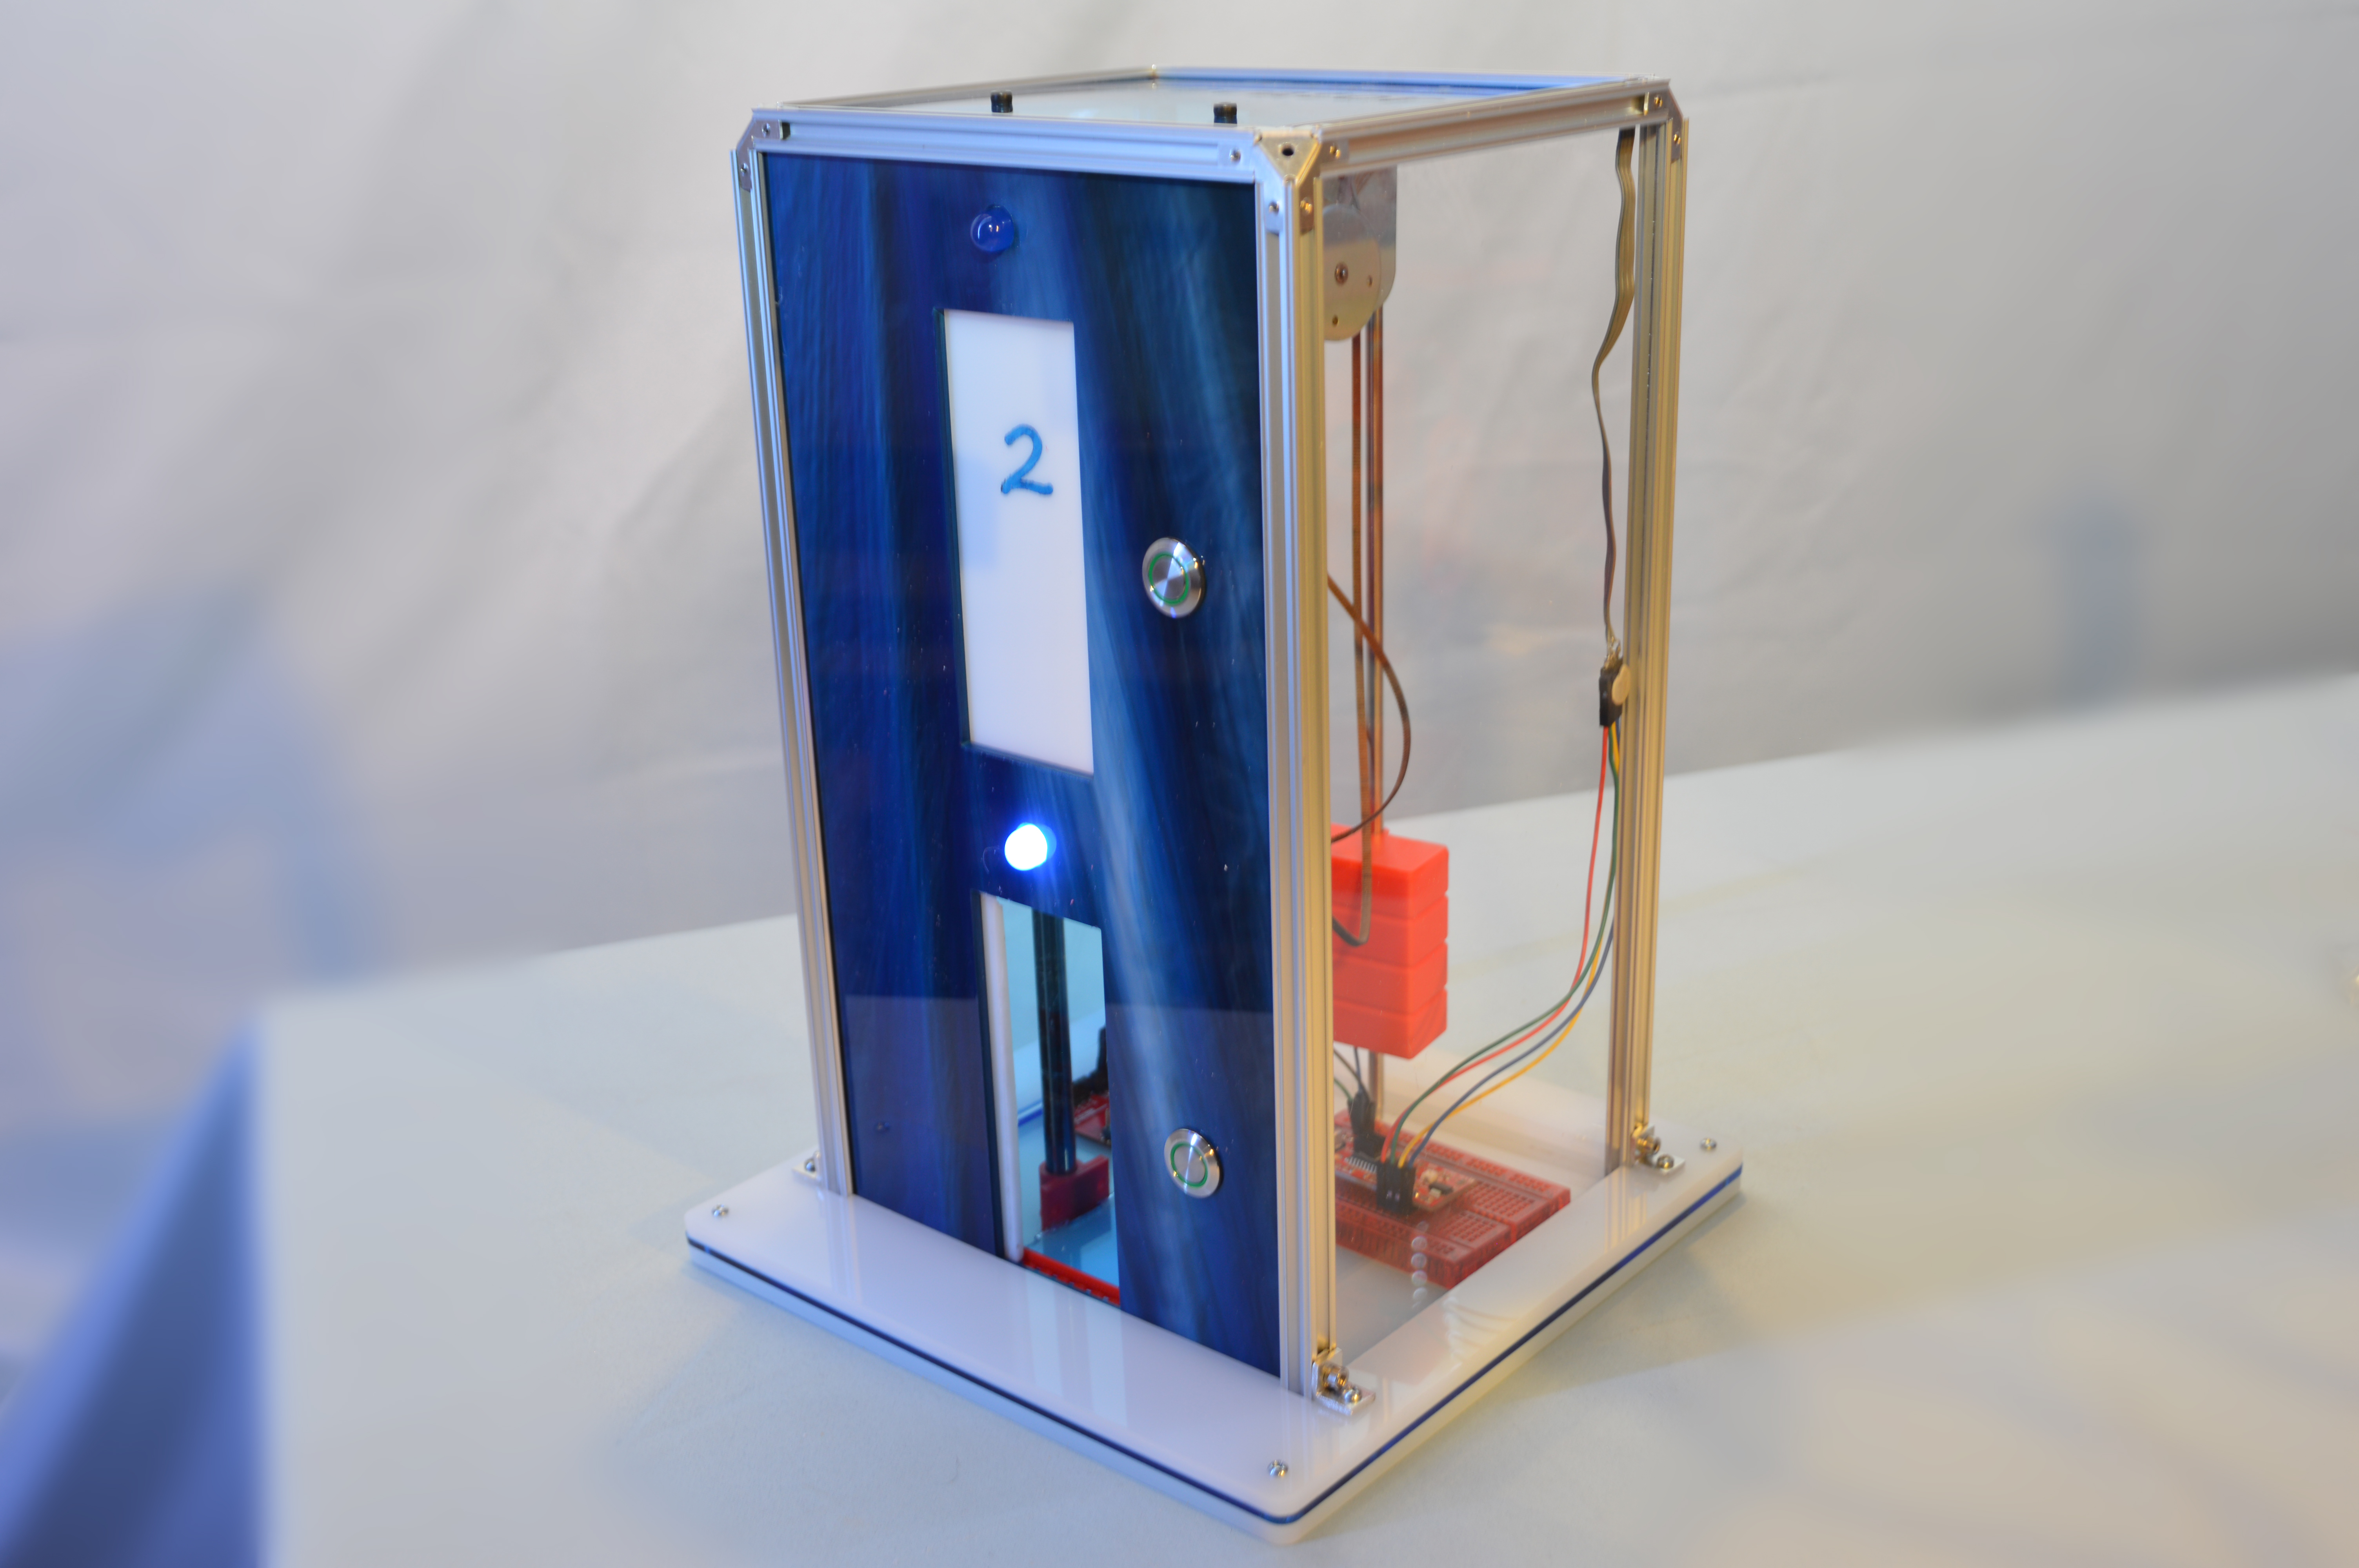
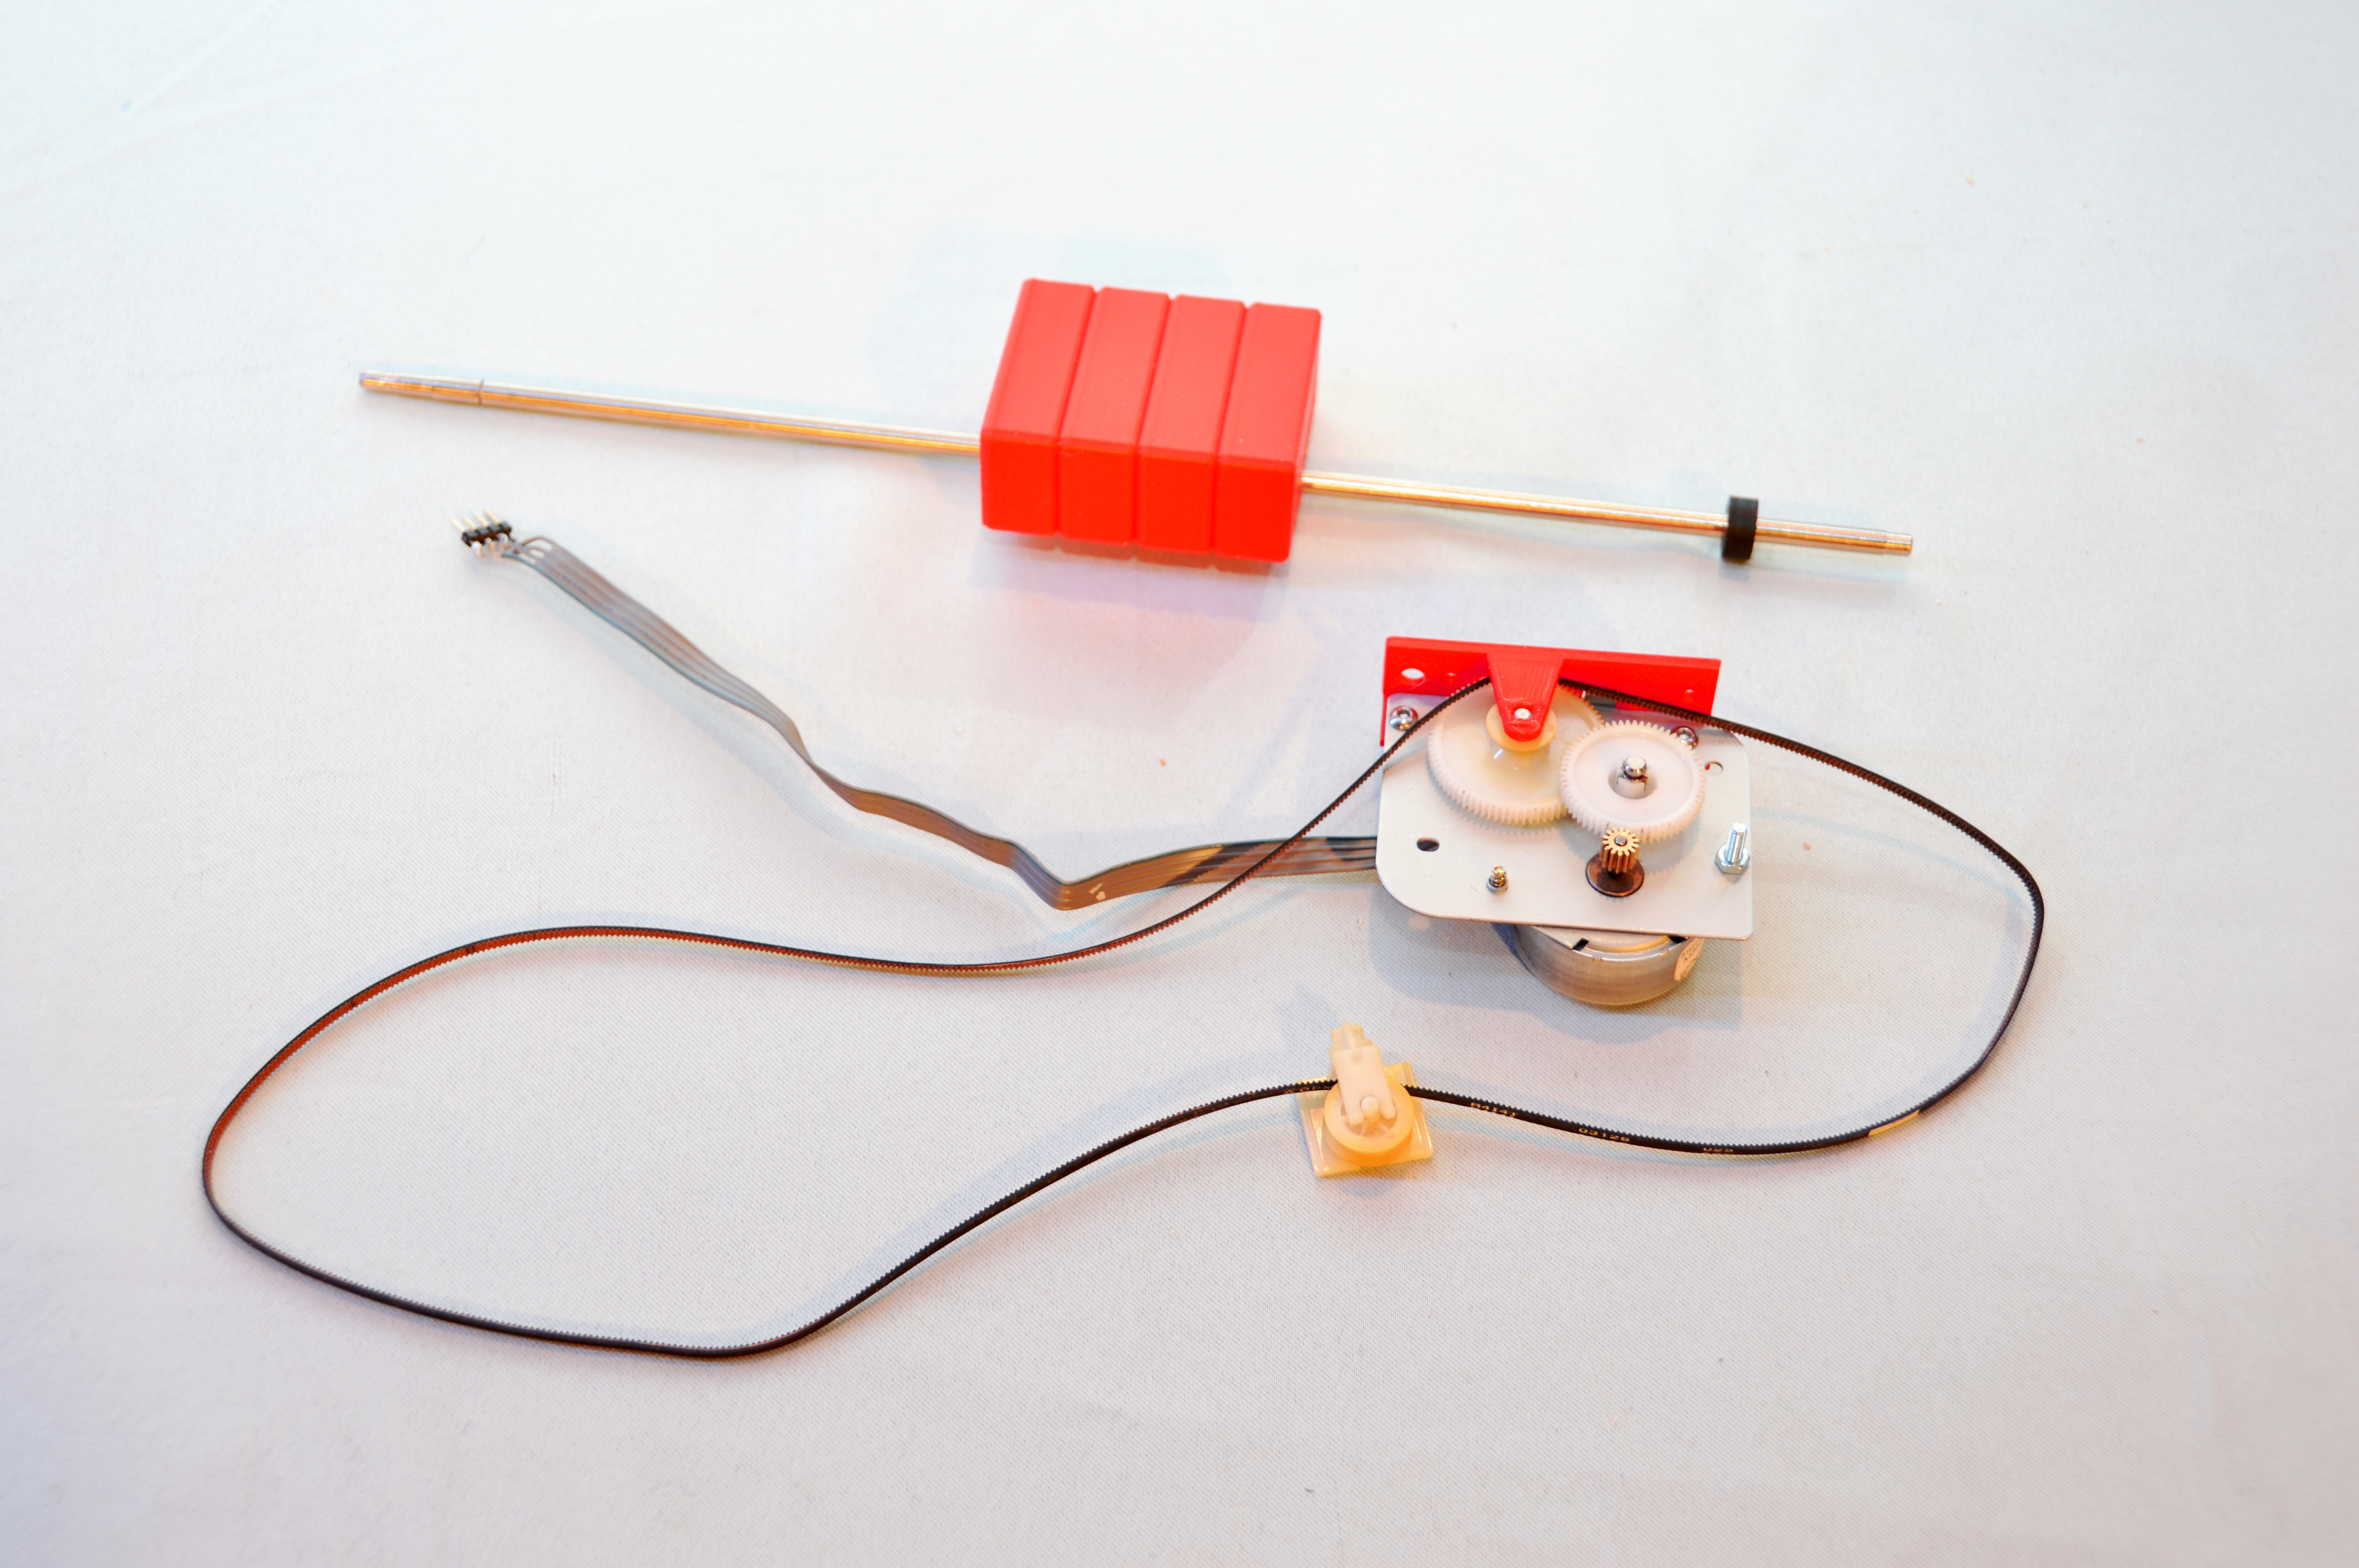
The design I came up with...well, actually the design I came up with was way over-designed and far too complicated to pull off in the amount of time I had, especially for someone that young. So the design I settled on was a two-story elevator, using MicroRax for the framing, a combination of laser cut acrylic and 3D-printed parts for the wall enclosures, using a small stepper motor and belt that I had harvested from an old printer, plus a couple of continuous rotation servos and controlled with a slightly older SparkFun RedBoard that I had on hand, and a SparkFun EasyDriver Stepper Motor Driver. Some illuminated buttons and LEDs rounded out the parts list.
I used the longest of the MicroRax lengths for the height, which in hindsight might not have been the best idea. Creating the enclosure before I figured out how and where I was going to put all of the internal components was just poor practice. Oh well, another lesson learned...again. Components first; enclosure second. Once I assembled the framing, I took measurements then set to cutting the acrylic. Then it was a matter of putting everything inside. Once I began that process, it became clear that I had not left myself enough room to fully open the elevator doors. My options were to either make the enclosure larger and re-cut all of the acrylic, which probably wasn’t possible since my acrylic pile is now mostly small scraps, or just make the elevator doors a little narrower. Since I still had just barely enough acrylic to re-cut the front panel, that’s what I did.
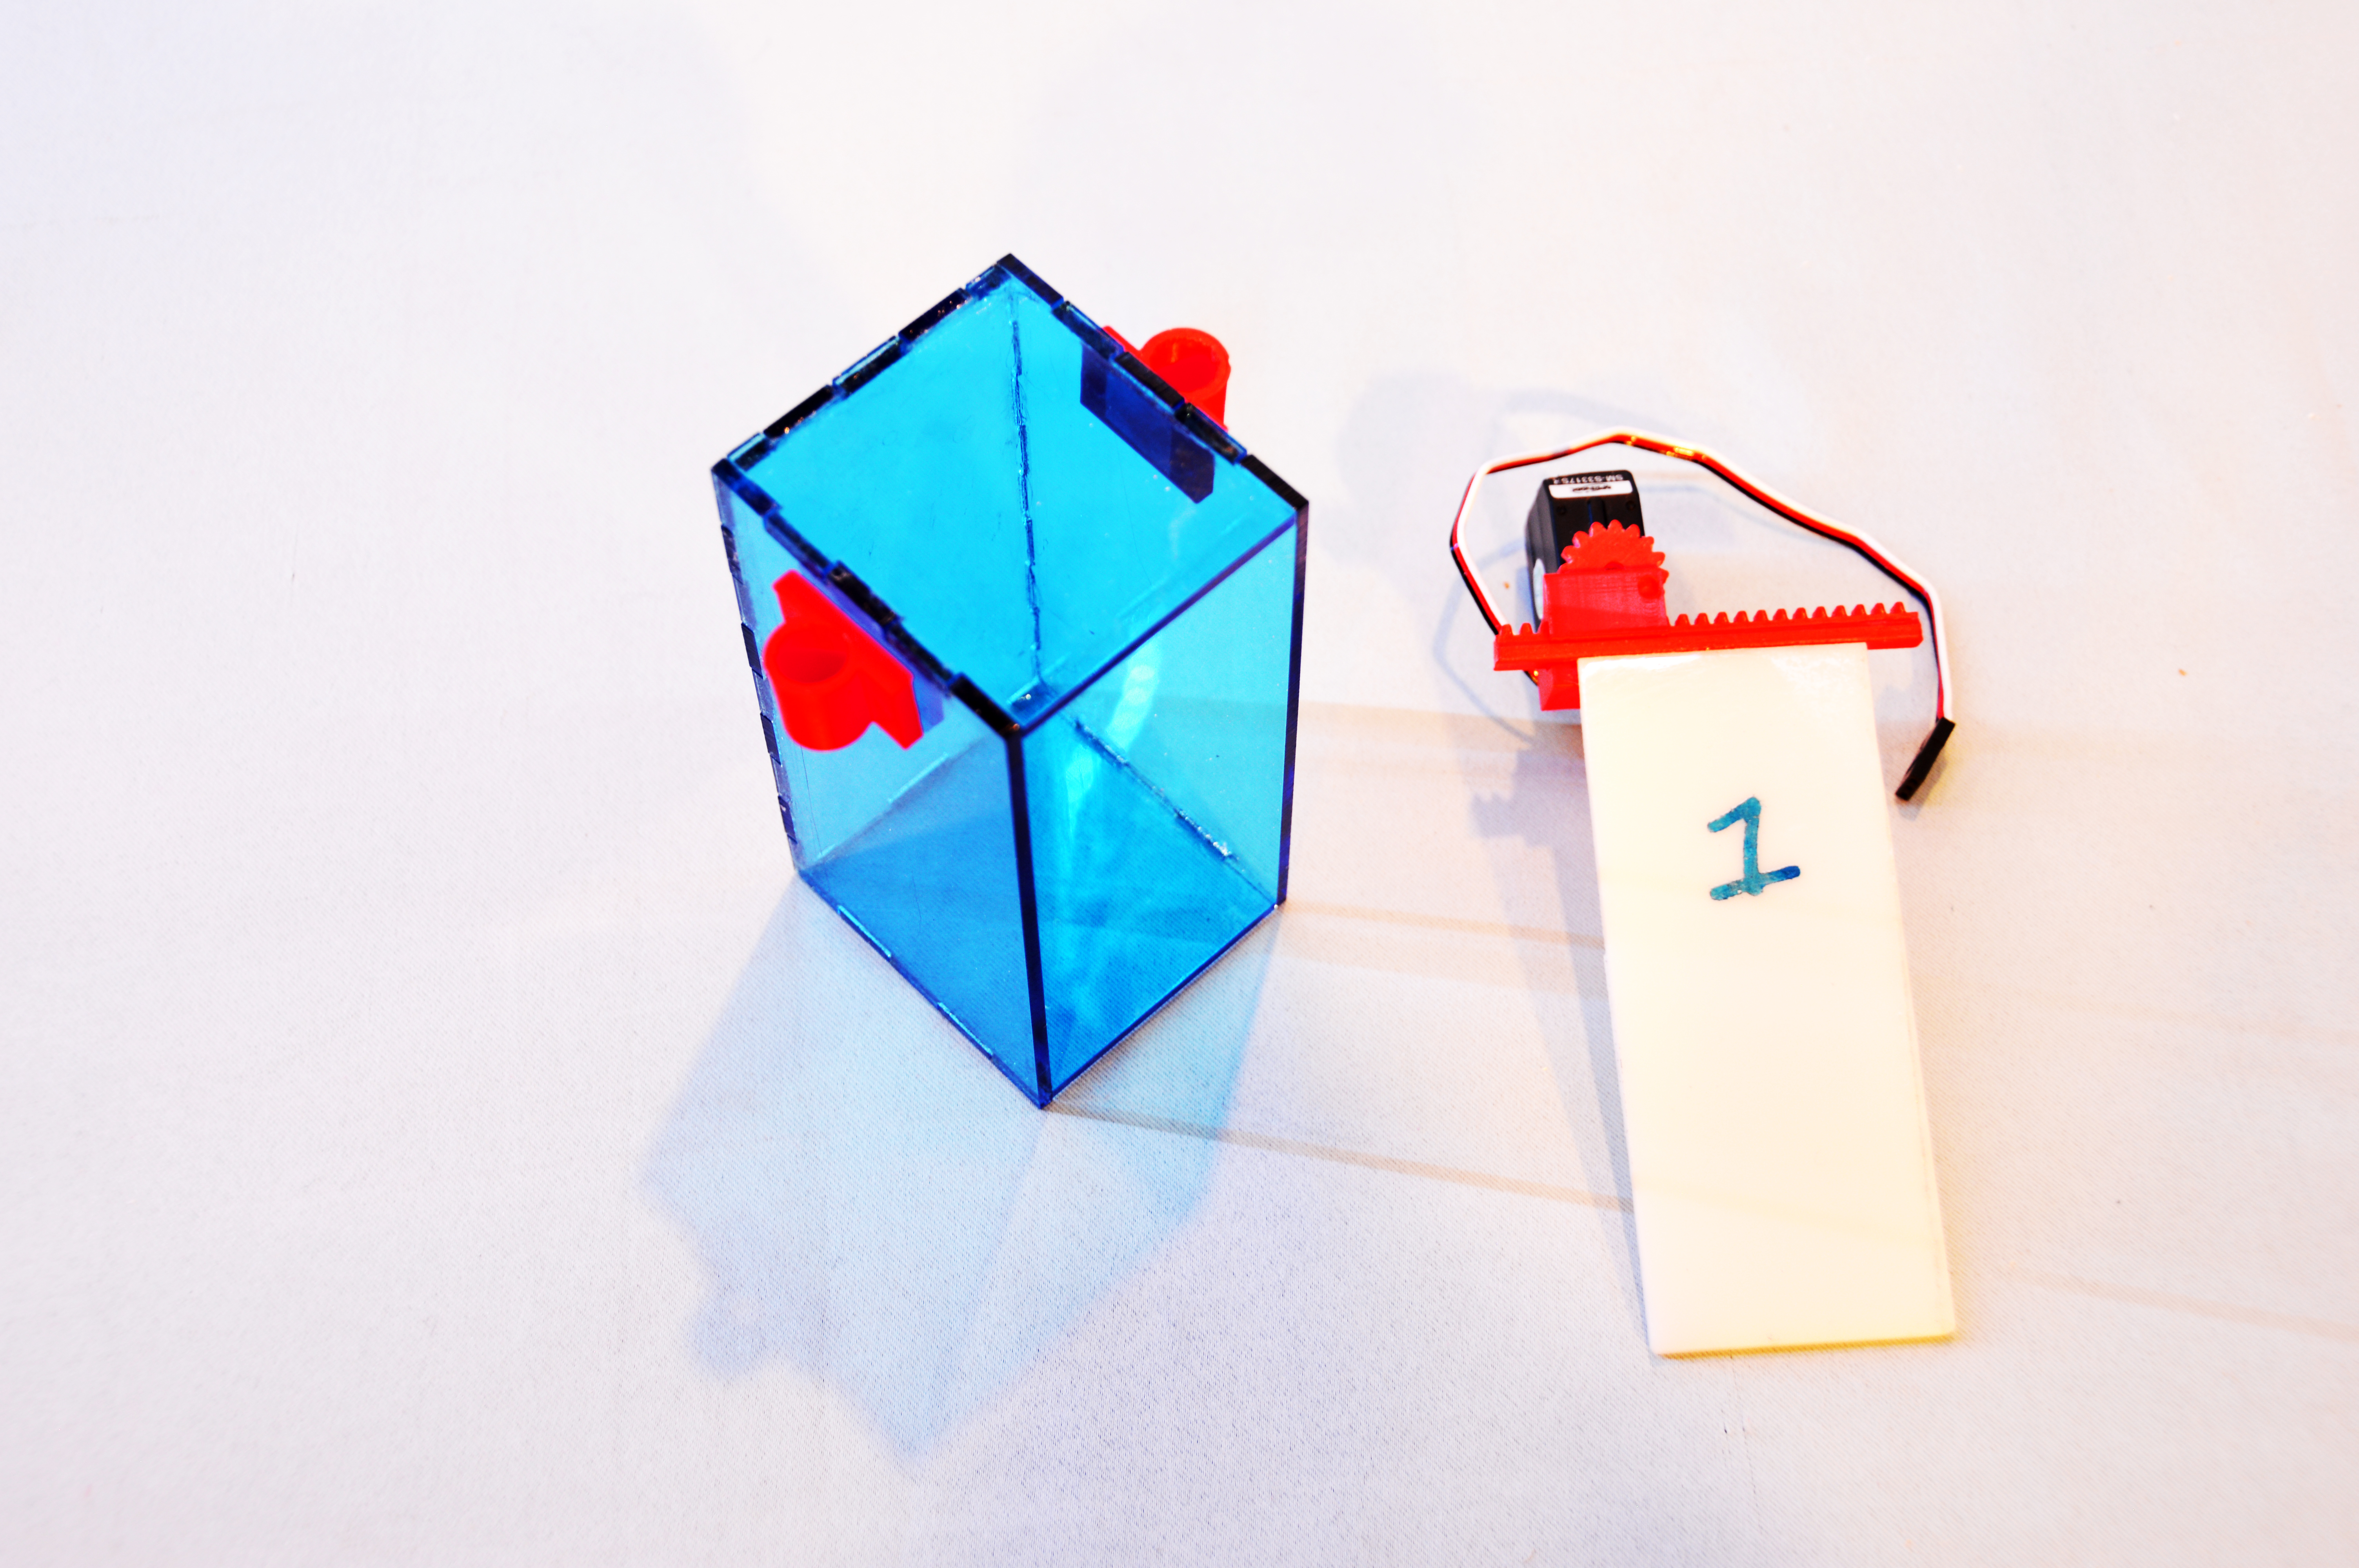
I printed a counterweight for the elevator car, adjusting the fill percentage so that it was almost the same weight as the elevator car. Since I was already using harvested printer parts, I grabbed three rails as well - one for the counterweight and two for the car. I cut them to length and created sliders to attach to the car. I found some rack-and-pinion files online, but none that really suited my needs. I did a little design work, and after a few iterations, had just what I needed. It might not have been the most elegant solution, but often, especially when time is of the essence, I have to remind myself that “perfect is the enemy of done."
As far as the control motors go, I generally trust servos to be “eh, close enough" and steppers to be “yeah, that’s definitely precise enough." However, since this will be out of my hands, in the hands of a young boy, and too far away for me to readily fix, I don’t know that even steppers can be considered fail-safe. So I tapped back into my theatre days, where everyone knew that if you want something to stop at the same place, at the same time, every time, you put limit switches at each end of its travel. So in an effort to make the elevator as child-proof kid friendly as possible, I added six limit switches - two for the elevator car and two for each elevator door. This way, if the belt slips, or a door gets jammed, the travel distance isn’t relying on precoded math, it’s hitting a physical limit switch every time it travels, and that brings me a little peace of mind.
The coding is straightforward and simple. Since we’re using continuous rotation servos, all we do is set the speed and have them run until they hit the limit switch. The same goes for the stepper motor operating the elevator car - run CW or CCW until you hit a switch. I’m still finalizing the LEDs. I know that the blue LED over each door illuminates when the car is on that floor, but we’ll see how I light up the buttons. So many possibilities.

I always enjoy sparking interest or excitement in a child when it comes to engineering - almost as much as I love the chance to help out an old friend. Did you create any cool builds this year for your kids, or even someone else’s? Was it due to an interest they showed in something, or an interest you were trying to pique in them? We always love to hear what our products are being used for out in the wild, so drop us a note in the comments and let up know what you've made that sparked wonder in the eyes of a child! Happy Hacking!
No comments:
Post a Comment