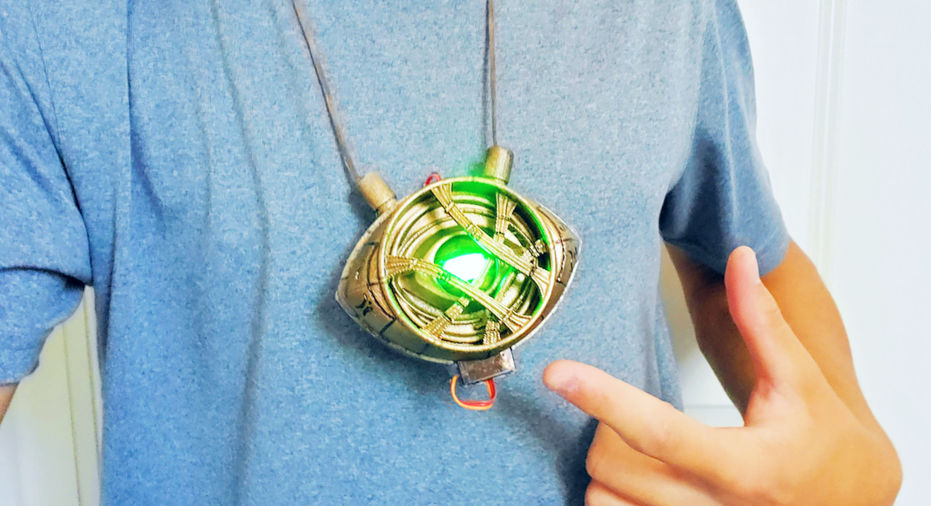
We’ve not released a time travel shield for Arduino yet. But when we do, this Eye of Agamotto project will be a perfect fit. So even though it may not bend time yet, it does everything else we’ve seen in Doctor Strange.
Eye of Arduino. Er… Agamotto
Just in case you’re not up to speed with the events of the Marvel universe (or have totally lost track of them), the Eye of Agamotto is a magical device worn by the Sorcerer Supreme. Currently, that’s Doctor Stephen Strange.
Maker Bradley Campbell is in the running to become the next Sorcerer Supreme. To get himself in the running, he’s built his own Eye of Agamotto using an Arduino Nano Every.
The housing of the prop is mostly 3D printed. It features a working “eye” mechanism, that’s opened and closed by a servo motor and printed, beveled gears. It’s a slick design, that creates the perfect housing for the bright, RGB LED mounted inside. A diffuser then gives it the appropriate infinity stone vibe.
Although his Eye of Agamotto prop is a pretty small piece, and is worn around the neck, all the electronics are built into the medallion itself. It’s a great example of a compact build. A small, low profile Li-Po battery on the back to drive the servo and LED. An equally slim combo of a charging module and DC-to-DC converter keep the lights on, and the power constant.

Like all good prop makers, he doesn’t just show us how to put the electronics together. There are some excellent tips on finishing the 3D printed parts, painting them, and adding texture. The weathering is essential to giving the medallion an ancient gold finish, and bringing the prop to life.
All in all, including spray paint (and excluding the 3D printer), the cost of Bradley’s prop runs to around $150.
Take a look at Bradley’s full build over on Instructables.
The post Working Eye of Agamotto from Doctor Strange (excluding time travel) appeared first on Arduino Blog.
No comments:
Post a Comment